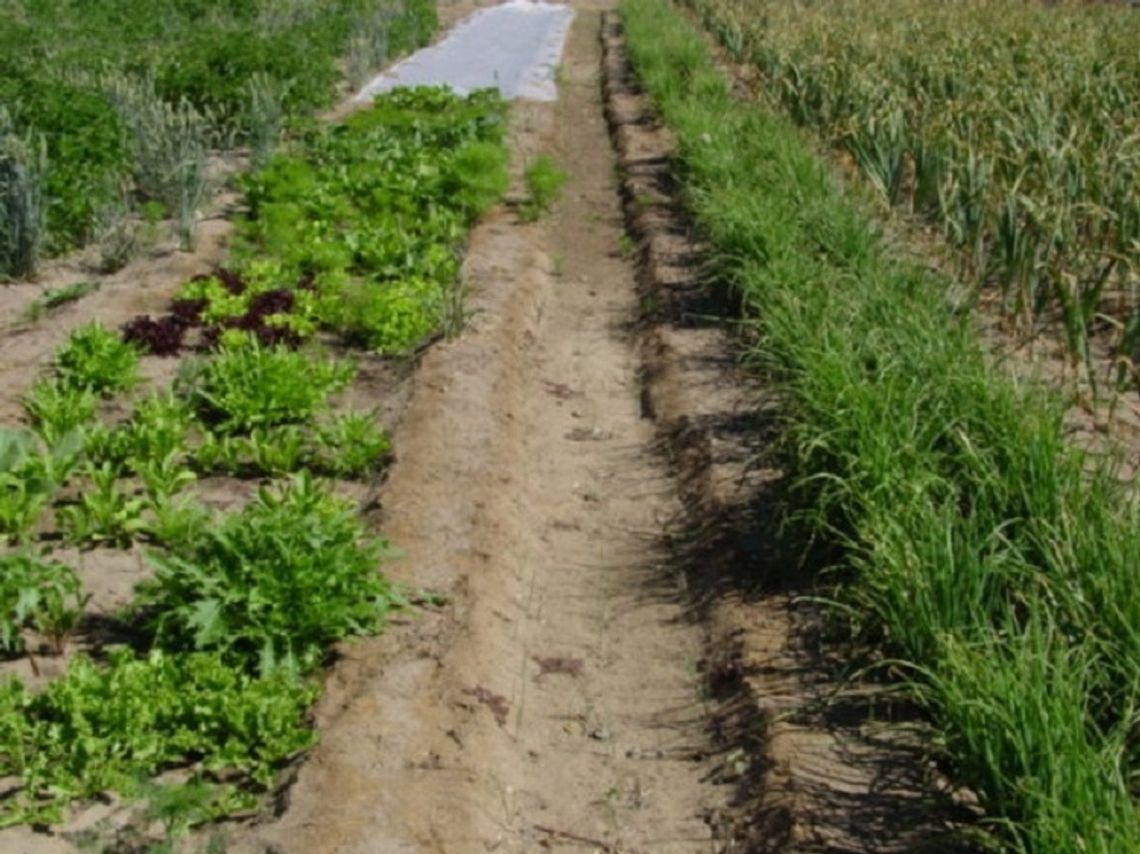
My husband Bill and I have been farming using organic methods on about an acre of our 9 acres in Fallon for over 27 years. We own Mewaldt’s Farm and Nursery and run a small CSA. We also provide produce and seedlings to local outlets like the Fallon Food Hub, the Great Basin Community Food Co-op, and the Cheeseboard in Reno.
Growing your own garlic can be quite rewarding and a delicious experience! June is when we get ready to harvest our garlic that we planted the previous fall. Right when you are getting the last of your tomatoes and other veggies planted into your garden, is time to think about getting your garlic out. Nine months ago, we were working hard to get our garlic into the ground and soon all that hard work will be paying off. Planting in October and November gives you large healthy heads of garlic that you harvest at the end of June or early July depending on the variety you choose to grow and right now ours is almost ready to harvest! Woohoo! The variety we grow is a soft neck that Bill has cultivated for over 40 years. He and Rick Lattin named the garlic Lahontan White.
Sometime around the middle of June, we give our garlic the last watering before we harvest. For the next two weeks we let the garlic stay in the ground so the leaves can send nutrients to the bulbs. The drying process also begins at this time. A Fallon farmer once told Bill that garlic in the ground is like money in the bank. When about 75% of the stalks turn yellowish-brown and fall over, it is time to dig (or lift) the garlic from the ground. If you want to braid the garlic we suggest that you harvest a bit earlier when stalks are still green and have a bit more structure to their stems so they are easier to braid.
We lift our garlic with a small spade by gently digging around the bulb trying to avoid damaging it. We actually lift the soil around the garlic head then pull the bulb from the ground by its stalk. Some experts suggest leaving the stalk on during the curing period, but we find it easier to manage and store if we cut the stalk off at harvest. We cut the stalks a half-inch above the bulb and place our freshly harvested garlic in our wheelbarrow and leave the stalks in the field. Next, we move them to a shaded area to dry for about 24 hours (in the shade). Never leave out in the sun as this will burn the garlic, we learned this unfortunately from firsthand experience.
After they have dried out for 24 hours you can hang them in nets or store them in boxes. Make sure air can circulate around each bulb and avoid moisture which encourages rotting. Soft neck varieties should cure or dry in storage for 2-3 weeks while hard neck varieties take less time, 1-2 weeks. Curing them lets the skins dry out before they are used or stored for long periods. This helps prevent molding and rotting. After curing you can cut the stems about a half-inch above the bulb if you have not already done so. Now they are ready to use or to store! We store ours in our shop, but any well-ventilated, dry, and dark storage areas will do. Also, make sure the storage area temperature will not drop below freezing. Soft neck varieties are long keepers and under the right conditions will last 9 months to a year. Hard neck varieties will not last as long however, they will store for 3-6 months. We try and save the best and most beautiful heads to plant and use as seed garlic for the next year. We often follow with another crop like squash or carrots where we dug up the garlic.
Garlic is a great plant to grow. It adds zest and flavor to so many foods and it has many health benefits as well. With proper cultivation, harvesting, and storage you can have the satisfaction of growing this wonderful plant yourself.


Comment
Comments